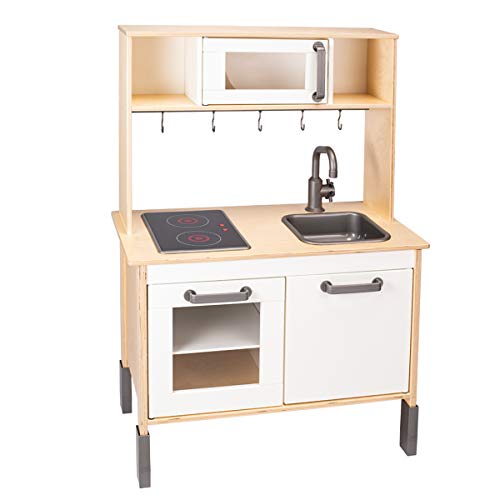
Ikea Play Kitchen Hack: Our Ikea Duktig Makeover
I’m pretty sure I was probably just days into being a mom when I first started searching Pinterest for “Ikea play kitchen hack ideas”. It’s been on the top of my to-do list as a mom- living out the dream of customizing an adorable little play kitchen with all the details (that I not-so-secretly wished I could have in our kitchen).
Back in 2015 when our daughter was about to turn 2 years old, I knew an Ikea Duktig makeover would be the perfect surprise for her big day. I’ll be honest, I’m not the best DIY-er, but I’m also not the worst! This Ikea play kitchen was a good “meet-in-the-middle” DIY project. The pieces are all set and ready to go, all you need to do is customize it to your liking (yay!) and then put the pieces together (meh.).
So if you’re considering giving your Ikea play kitchen a makeover, keep on reading!

*Disclosure: This post contains affiliate links. All opinions and recommendations are my own.
Why You’ll Love The Ikea Duktig Play Kitchen
- Solid Structure & Materials: The Duktig is a SOLID play kitchen. Made from mainly birch plywood and fiberboard, this is not some flimsy kitchen that won’t last. Ours has been going strong for EIGHT YEARS and that includes some solid wear and tear by 3 boys who have climbed on it constantly (make sure you safely attach it to the wall if you have little climbers!). Not only is it solidly built, but the Ikea Duktig is made from birchwood which is a much nicer option that many of the plastic play kitchens out there.
- Customizable: And because it’s made from birchwood and fiberboard, Ikea’s play kitchen is so easy to customize and remodel with a new paint color.
- Adjustable Sizing: The height of the legs on the Duktig can be adjusted to 3 positions. I love how the Ikea play kitchen can adjust as your little one grows!
- Cute and Functional Details: The Ikea Duktig play kitchen really has the cutest details, from a pot rack with hooks, a stovetop, a microwave, upper shelving, a detachable sink, a turning faucet, shelves inside the oven and refrigerator/pantry, space beneath the kitchen for storage (I love to put a basket or low wooden crate underneath to store lots of pretend food items), and thick pulls on the doors and microwave which make it easy for little hands to grip and also allows for a cute dish towel to hang!
- See-Through Microwave: The microwave window is made from a see-through acrylic, so your little one can see what’s cooking inside.
- Detachable Sink: The Duktig’s sink is detachable to enable easy cleaning. If you have toddlers, you know that they’ll put anything and everything in the kitchen sink. It may be real food, dirt, shoes, a diaper, ketchup, you name it. It’s nice to have easy access to pop the sink out with ease and give it a good clean.
- Stovetop Lights: I love the cute detail on the Duktig where with a push of a button it turns on stovetop lights to really make it feel like something is being cooked on the stovetop.
- Encourages Role Play: I love how a play kitchen encourages role play. This play kitchen is hands down one of the most used items in our home for role play. Although our littlest is too young still, I’ve loved watching all of our older 5 kids have their time at their kitchen as little chefs, bakers, or pretending to be mom and dad. Presenting a batch of cookies, a fruit salad, or a birthday cake to mom and dad is always so exciting for the kids and gives them such a sense of accomplishment!
Ikea Duktig Measurements
Width: 28 3/8 “
Depth: 15 3/4 “
Height: 42 7/8 “
The Duktig is really a great size for the youngest toddlers all the way through their little kid years. And with adjustable legs, it really can grow with your child.
Where To Buy The Ikea Play Kitchen (Not Just Ikea!)
It used to be that you could only buy the Duktig play kitchen from Ikea. While that’s the most cost-effective option (as it’s been listed for $99.99 for as long as I can remember), you can also buy Ikea’s play kitchen on Amazon (link here).
The downside of ordering on Amazon is that it usually is listed at a higher cost. However, quick and free shipping plus easy returns (in case there’s an issue or a broken piece) can sometimes be worth it if you don’t live near an Ikea. Our nearest Ikea is a hike, and now 6 kids later there’s no way I have the time in my week to venture out that far. SO, for the sake of convenience, it’s nice to know that the Ikea Duktig is listed on Amazon.
How To Design Your Ikea Play Kitchen Hack
Just as if you were about to remodel your own kitchen, start with inspiration. Search Pinterest for “Ikea Play Kitchen Hacks” or “Ikea Duktig Remodel” and you’re bound to gather some great ideas. Or search for images of your favorite real kitchens and see what inspires you.
Consider pairing items together on a mood board or gather paint swatches and lay them out with hardware (if you’re choosing new hardware) and see what speaks to you. Are you hoping for a timeless design? Or a bit more whimsical? More gender-neutral? Or more frilly and feminine? Maybe a pop of color and a fun wallpaper backsplash?
(Check out these posts for wallpaper inspiration!: The Most Beautiful Green Wallpaper, The Most Beautiful Blue And White Wallpaper)
Also consider which room you plan to have the play kitchen located. Will it be in your daughter’s bedroom? Your son’s bedroom? If so, consider coordinating with their color scheme in their room (or at least something that won’t clash). Will it be in a playroom?
Before you dive in and paint it hot pink just because you little one wants a pink kitchen, make sure it’s something you love to look at too! (ps a hot pink play kitchen could look amazing! 🙂
Once you have your inspiration ready, it’s time to get DIY-ing!
Our Ikea Play Kitchen Makeover Details

I always knew I loved timeless elements for a kitchen like marble countertops and a copper sink, so I chose to incorporate those details when designing our Ikea play kitchen remodel. And although we were designing an Ikea play kitchen hack for our daughter’s birthday, we already had a son (who is 18 months older) who was bound to play with the kitchen too! So I leaned toward a gender-neutral design, while keeping all the details I loved.
I chose to leave the microwave alone as it was already a pretty shade of white, but decided to paint the sides and doors of the kitchen Dior Gray by Benjamin Moore (2133-40). (Apparently, the name has been changed to Charcoal Gray).
You know that feeling when you’ve looked at a million shades of gray paint and you just don’t know whether you’ll love it… but then you looove it? Yes! This is it! 6 years later and I still LOVE this color on the play kitchen. It’s a lovely deep gray (with a slight indigo undertone). The color makes the white paint pop, and really compliments the marble backsplash and countertop.
I’ve read tutorials where you’re supposed to sand down the wood before painting it, however, I skipped this step and it’s held up great (all things considered). I painted the wood before assembly, which I highly recommend. I honestly can’t remember if I did 1 coat or 2, or if a primer was mixed in (it’s been 6 years and 4 more babies later- my brain can’t remember the exact details!), but I didn’t use anything special to seal it in the end.
I knew I wanted copper details in the play kitchen so I decided to use a hammered copper spray paint for the sink, faucet, pot rack holder, pot rack hooks, leg caps, and hardware/pulls. (Make sure you do this step outside!).
I set up a plastic drop cloth (make sure the wind is going away from you so it doesn’t spray back at you), placed each item so nothing was touching, gave the can a good shake (reviews say that because it’s an oil-based spray paint to literally shake it for a good 3 minutes or as much as your arms can handle!), gave a single coat of spray on one side, waited 24 hours, and repeated on the other side. I let the pieces dry another 24 hours and everything was good to go.
Back then, we lived in a walk-up apartment, and I barely had time to escape from the kids, nor the space outside to pull-off painting this play kitchen- I literally did this under an outdoor stairwell and just hoped some grumpy neighbor wouldn’t walk by and report me!
For the backsplash and countertop, I chose a marble peel and stick wallpaper in the color “Marmi Marble Grey”. I LOVE the look of this specific marble wallpaper, and it was super easy to install. Since it’s a peel and stick wallpaper (or contact paper), it adheres to the countertop surface well with some solid sticking power!
I simply placed the wallpaper on the countertop and used a boxcutter to cut the edges where needed (for example, where the kitchen sink would pop in) and folded the wallpaper over the edge of the countertop.
In order to create the look of a marble slab backsplash, I bought a thick poster board/foam board and used the boxcutter to fit it to size. I adhered the marble wallpaper to it, and once the Duktig was assembled, I used some strong double sided tape to attach the board to the back of the play kitchen. (You could also nail it into the back of the kitchen as well).
Not only did the countertop and backsplash look amazing but the magical wallpaper is waterproof! (Big win for a mom of toddlers!)

How To Accessorize Your Ikea Duktig Play Kitchen
After you’ve completed your Ikea play kitchen hack, now comes the fun part of accessorizing! The possibilities are endless as they now make the cutest play kitchen accessories. But these are some of my best recommendations for kitchen toys/items that kids LOVE to play with: pots and pans, cookie sheet, cupcake set, birthday cake, oven mitt, tea set, mixer, toaster, waffle maker, play food (of course!), plates, bowls, cups, spatulas, and blender.
You can always add extra details like a small vase with a flower, a cute dish towel, a vintage style tea cup, or natural woven baskets for storage under the kitchen.
Here are some of the items used for our Ikea Duktig hack, as well as some recommended play kitchen accessories our kids love:
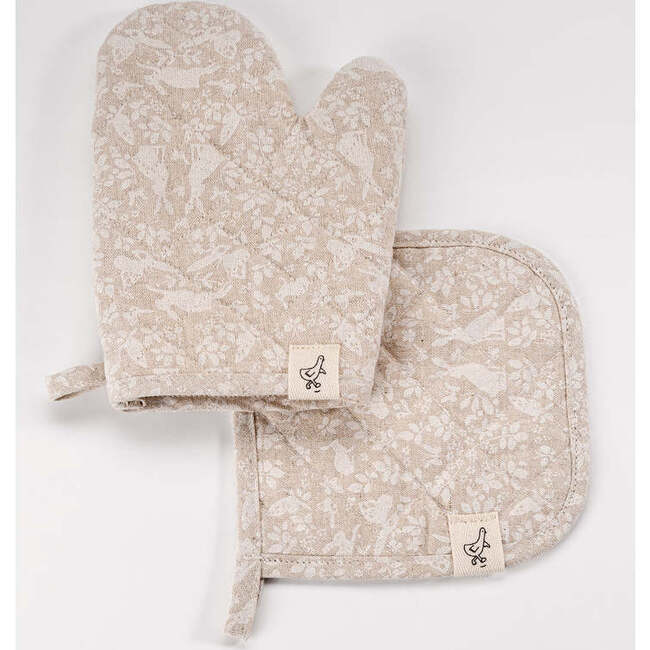
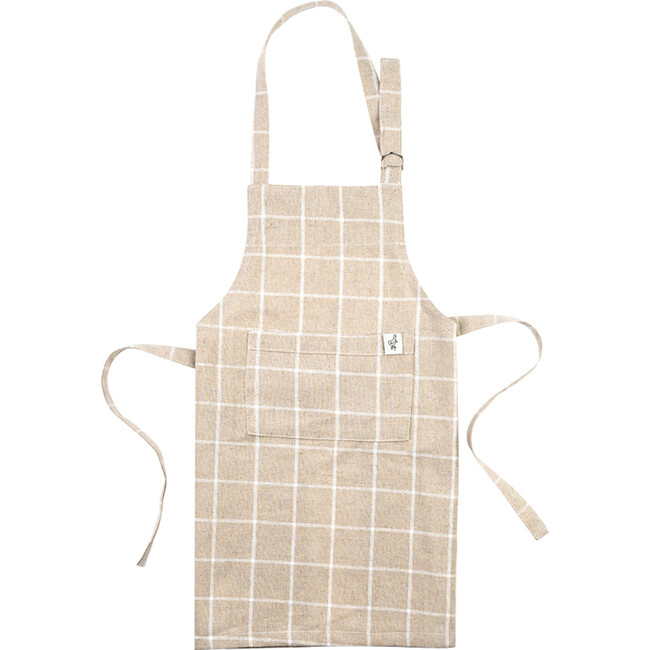

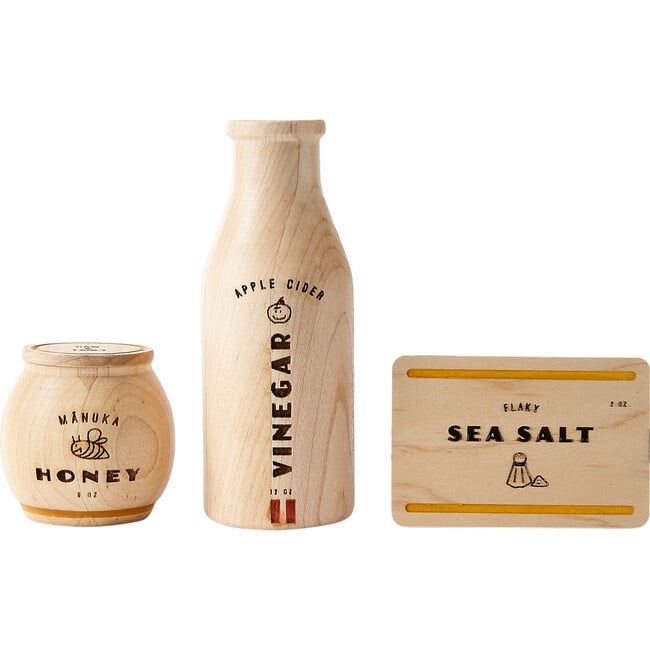
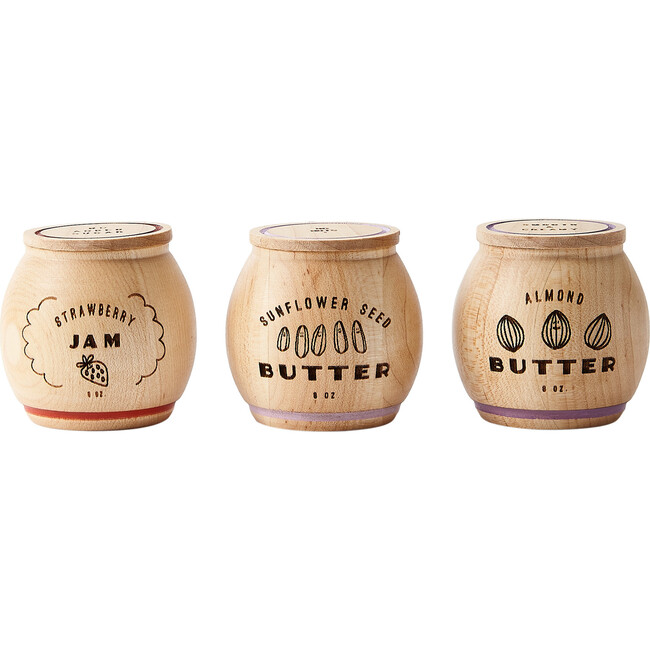
I hope you loved this Ikea play kitchen hack and that it inspired you to customize your own Duktig! I’d love to hear what paint colors and details you chose for yours in the comments below!
Other Posts You Might Enjoy:
The Most Beautiful Green Wallpaper
The Most Beautiful Blue And White Wallpaper
Baby’s First Easter: Easter Basket Ideas For Babies
New Sibling Gift Ideas: Big Brother And Big Sister Gift Ideas From Baby
Easy Bento Box Lunch Ideas For Kids

